This guide will walk you through how to add buttons to your website pages using the Page Editor. Buttons are a great way to draw attention to key actions and helps improve user engagement across your site.
With the Page Editor, you can easily insert new buttons, customise their text, adjust their styling, and link them to any page, form, or URL.
Follow the steps below to learn how to create effective, clickable buttons that enhance your page layout and guide customers to the right place.
Finding the Page Editor
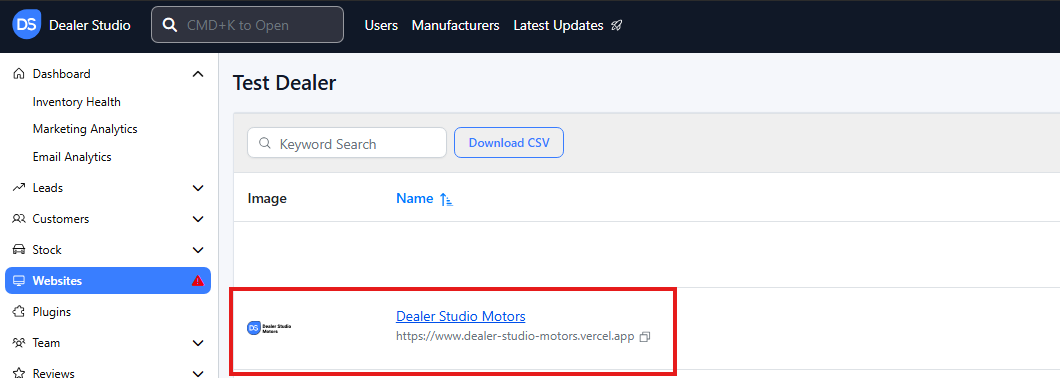
Step 1: On the Dealership Dashboard, select Websites
Step 2: Select the desired website to edit
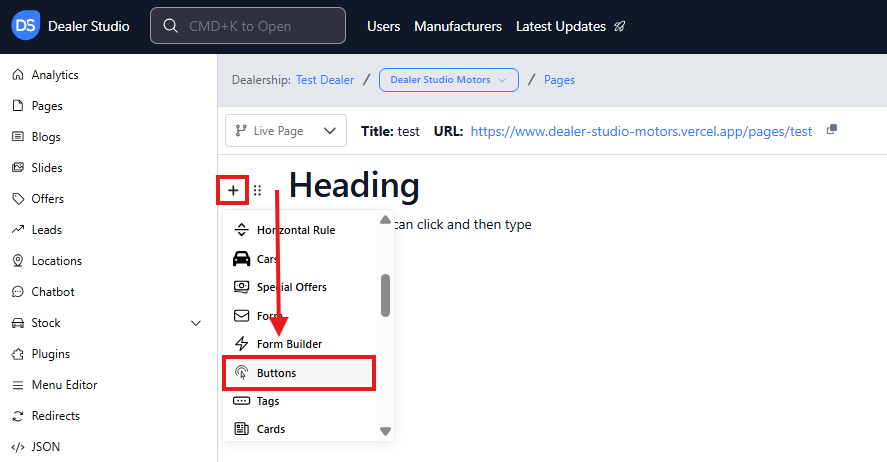
Step 3: Once on the Website Dashboard, select Pages

Step 4: Select the page you want to edit

Adding and Editing Existing Buttons on Your Pages
-
Navigate to the desired area of the page. Hover your mouse over the left-hand side until the '+' icon appears. Click on the icon, then scroll down and select the Buttons button.
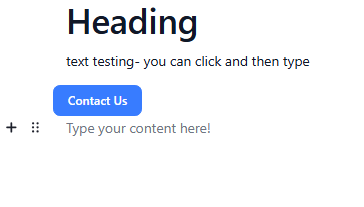
A generic Contact Us button will appear.
-
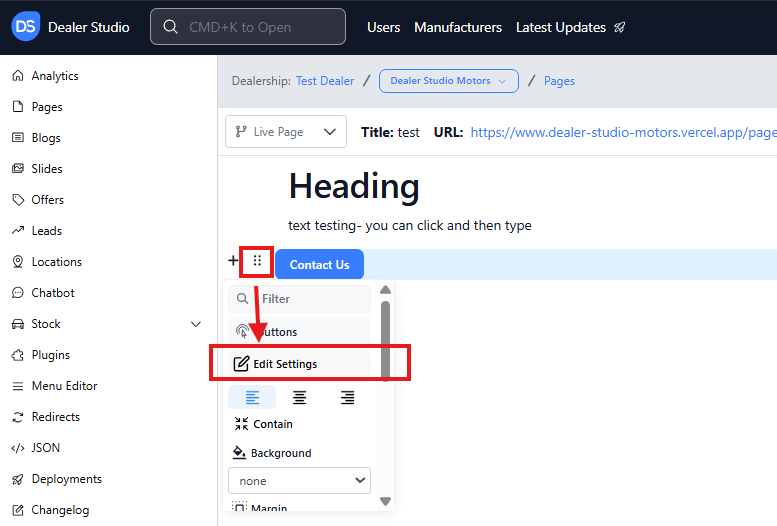
Hover your mouse over the left-hand side of the page where the button is until the 6 dots icon appears. Click on the icon, then select the Edit Settings button.
-
A box will open to customise the button as desired with shape, text and URL.
You may select Rounded buttons, colours of the button, link and edit text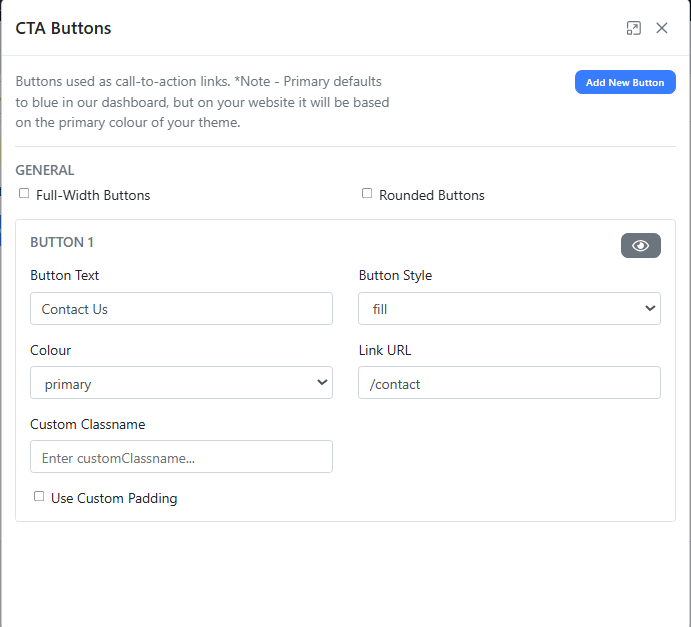
*Note - Primary defaults to blue in our dashboard, but on your website it will be based on the primary colour of your theme.
Please see attached video for further clarity.
https://res.cloudinary.com/total-dealer/video/upload/v1763085339/Adding_Buttons_gdmqxa.mkv